
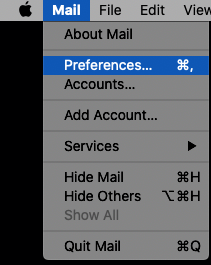
STEP 1 – Click on the Mac Mail icon in your toolbar and then click on Mail > Preferences
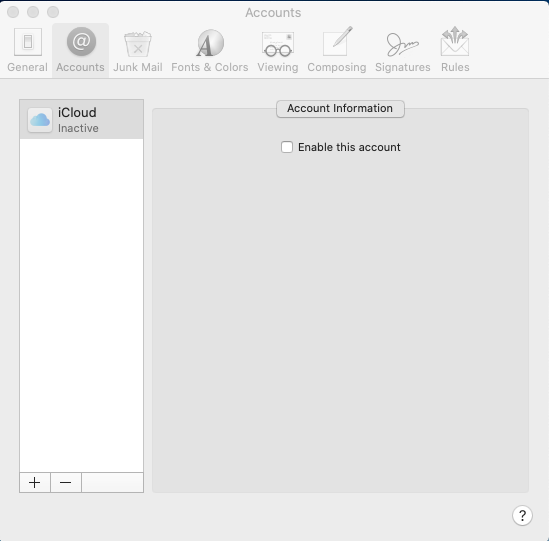
STEP 2 – In Accounts click on the “+” sign at the bottom of the left-side pane
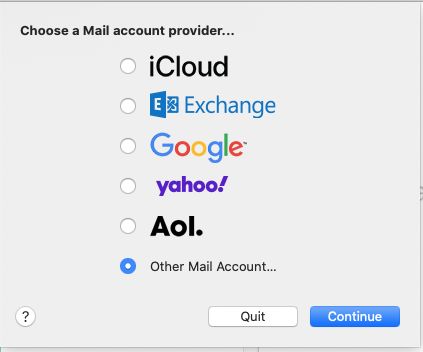
STEP 3 – Select “Other Mail Account…” and click Continue.
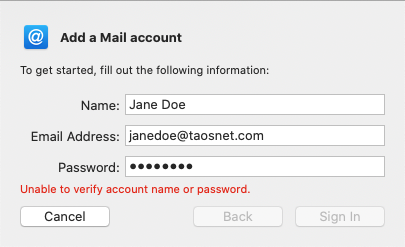
STEP 4 – Enter the Name you want to appear on the account. Enter Email Address and Password. Disregard the “Unable to verify account…”, and click “Sign In”.
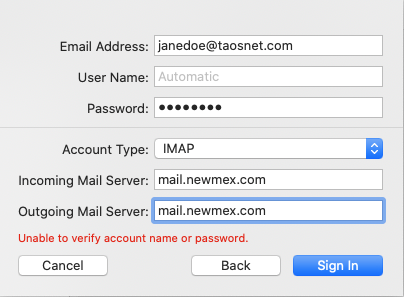
STEP 5 – Enter your Full Email Address in the Username. Enter mail.newmex.com in both the Income and Outgoing Servers. Click Sign In.
STEP 6 – Voila! Email should now be set up and you can start sending and receiving email in Mac Mail.
Category:
Email